· James Torr · Personal  · 1 min read
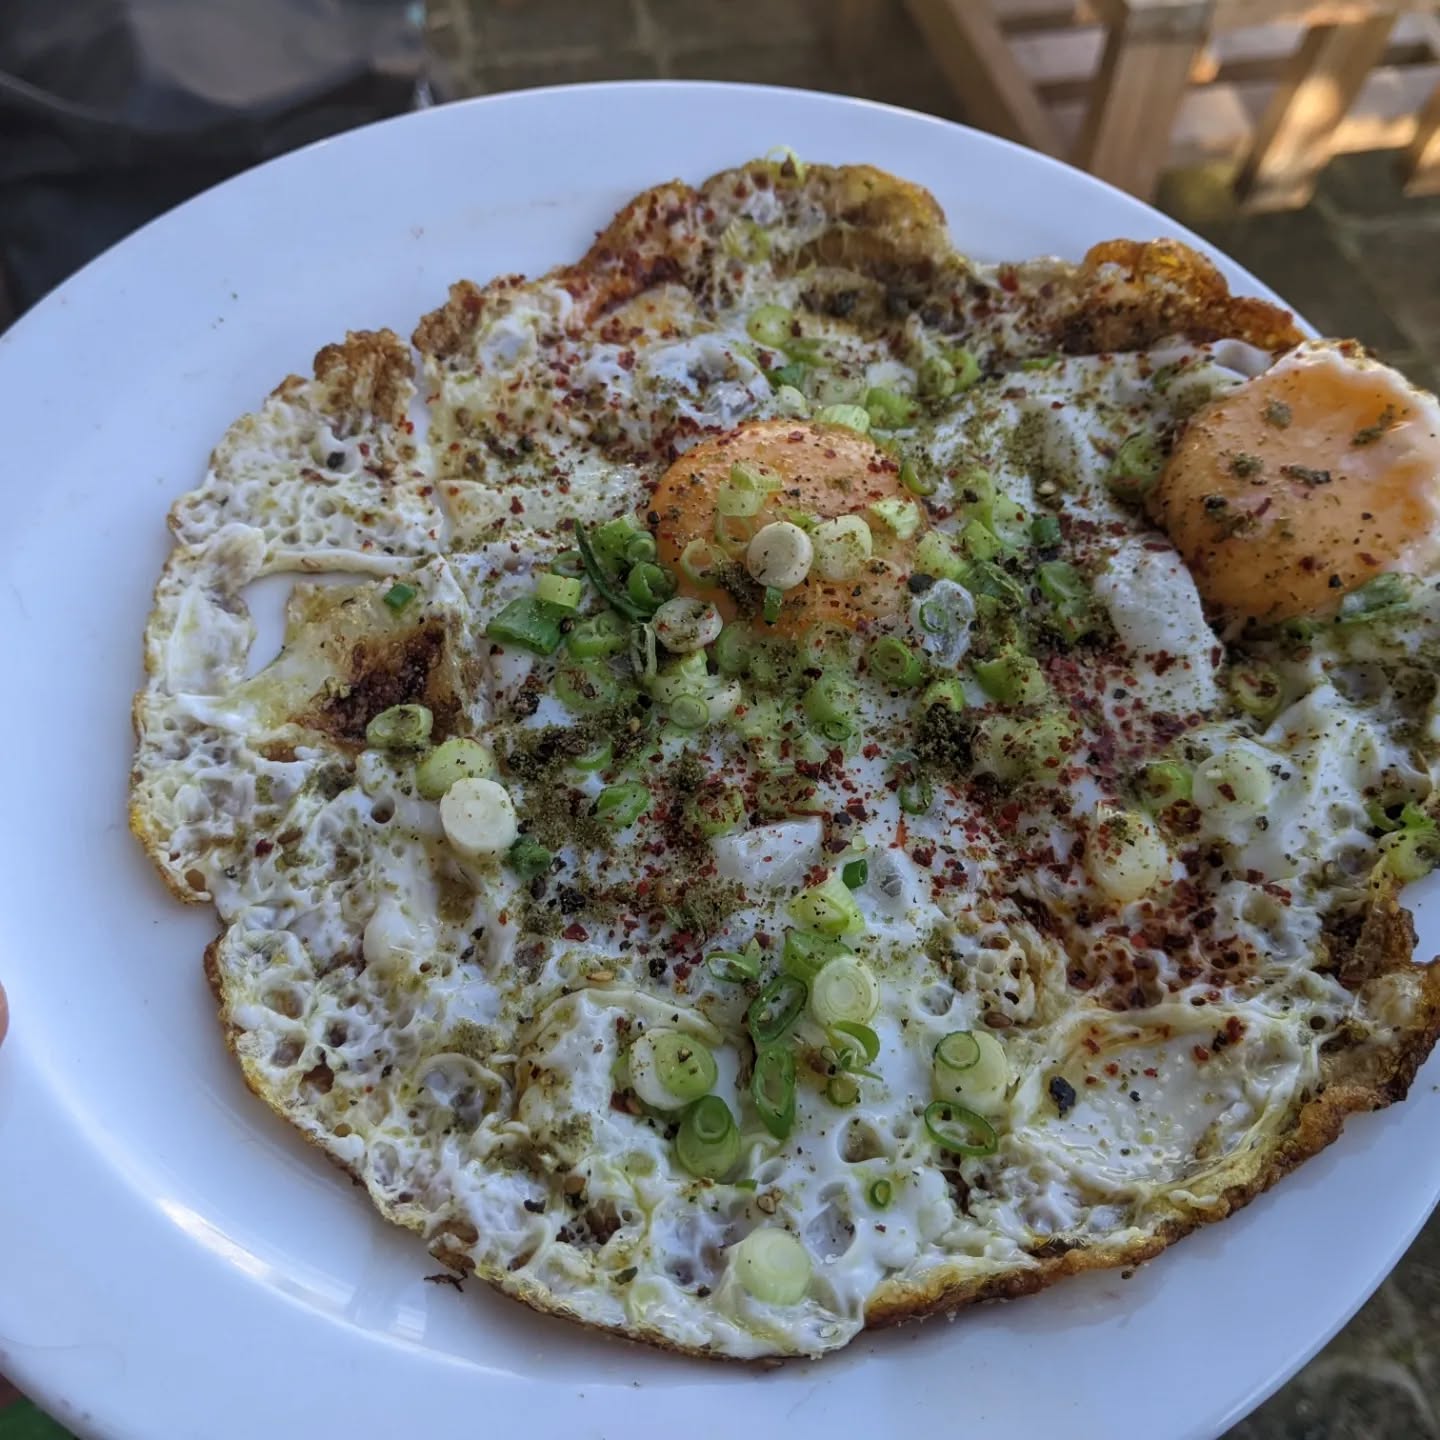
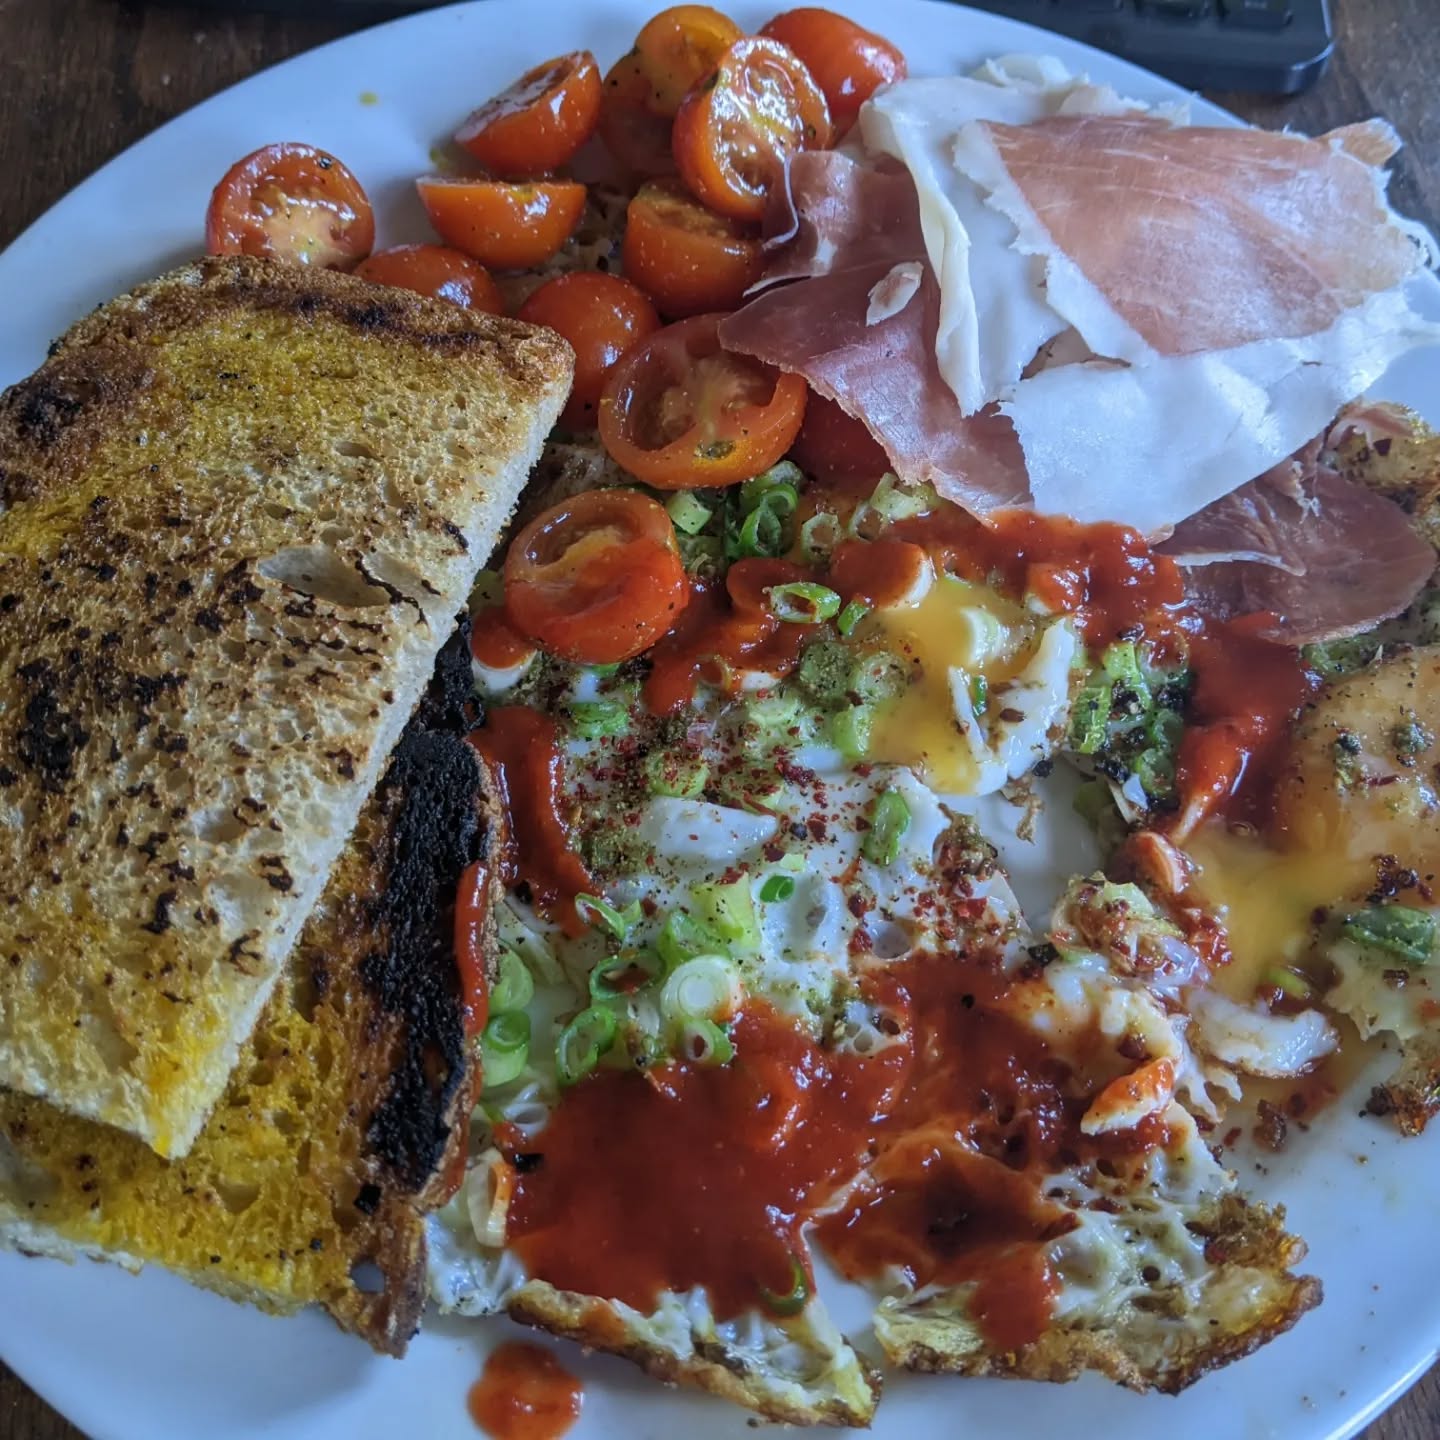
This is my new favourite way of preparing eggs. @frankprisinzano's method. I hope I have done it some justice. It is super simple and a lovely combination of textures, and relies on it being hot enough to crisp up, something a lot of home chefs seem to be afraid of. Heat up a stainless pan for 3-4mins, check its hot enough with a splash of water - they should bead, and roll across the surface.

This is my new favourite way of preparing eggs.

This is my new favourite way of preparing eggs. @frankprisinzano’s method. I hope I have done it some justice.

It is super simple and a lovely combination of textures, and relies on it being hot enough to crisp up, something a lot of home chefs seem to be afraid of.

Heat up a stainless pan for 3-4mins, check its hot enough with a splash of water - they should bead, and roll across the surface. Crack a couple of eggs into a bowl as the pan is heating up. Add oil to the pan, it should smoke but not burn. 230-250C if you have an IR or probe thermometer. Pour the eggs in the pan and leave them, don’t touch. In about 3-4 mins they should have crisped up on the bottom.

While they’re cooking, add salt, pepper, chilli flakes/powder. I’ve added some thyme blend. When the yolks look cooked, use a fish spatula to remove from the pan.

Served here with slices of home baked bread, tomatoes, prosciutto.

Photo 1Photo 2
Share:
Back to Blog

Related Posts

View All Posts »
Medium firm tofu trial.

Medium firm tofu trial.

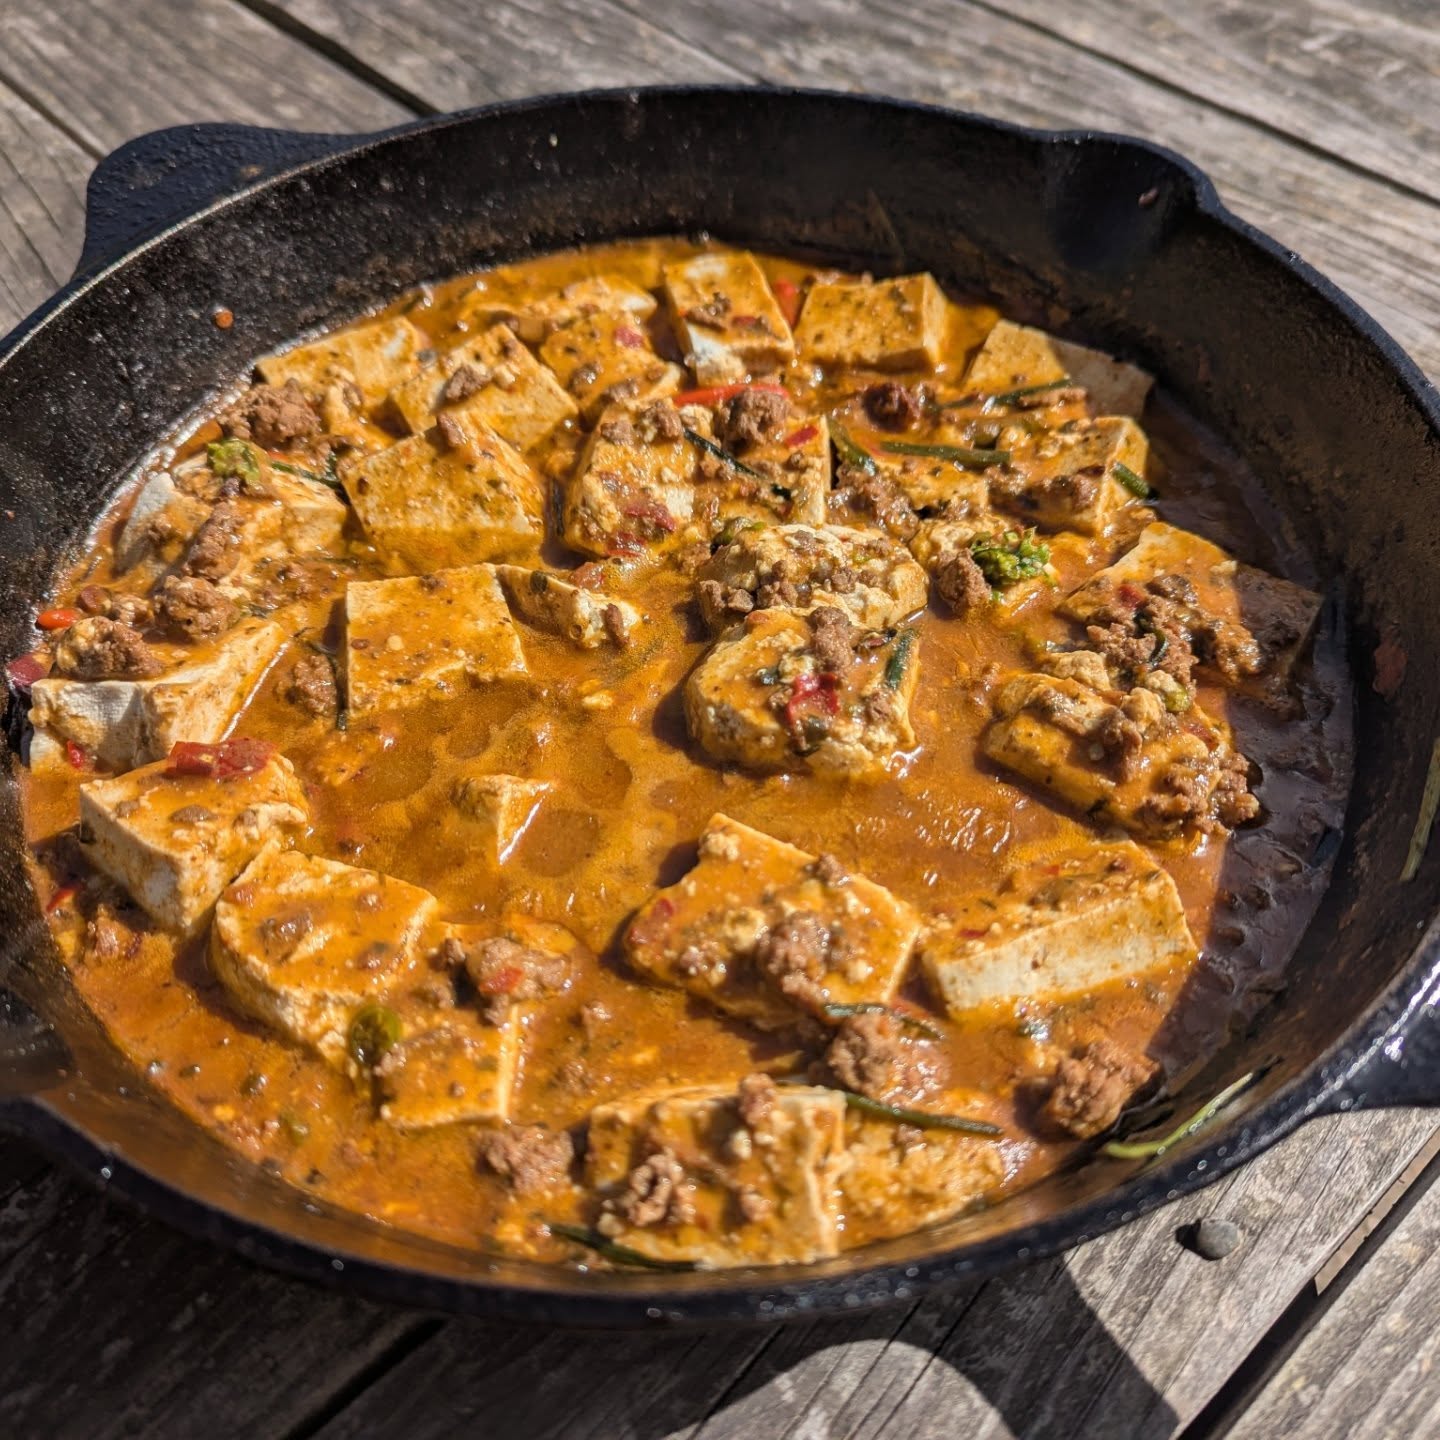
Medium firm tofu trial. I wanted it a bit firmer but I think the mould (a ricotta cheese mould) was a bit all for the correct pressure. The individual steps for making tofu are relatively simple, but there are quite a few: Soak the beans for 8hrs, liquidise with a set quantity of water, strain in a nut milk bag, heat up to around 80C, hold for 30 minutes, add gypsum (or another coagulant), stir, ladle into a mould lined with cheesecloth, press. I made some mabo dofu (pictured) and some home style tofu. I'm not saying I won't do this again, but it's probably on the rainy day side of the food projects I've done as it's relatively simple and cheap to buy locally.

I've been eating a lot of rice bowls lately and I thought I'd share some basics that I've learned since eating them.

I've been eating a lot of rice bowls lately and I thought I'd share some basics that I've learned since eating them.

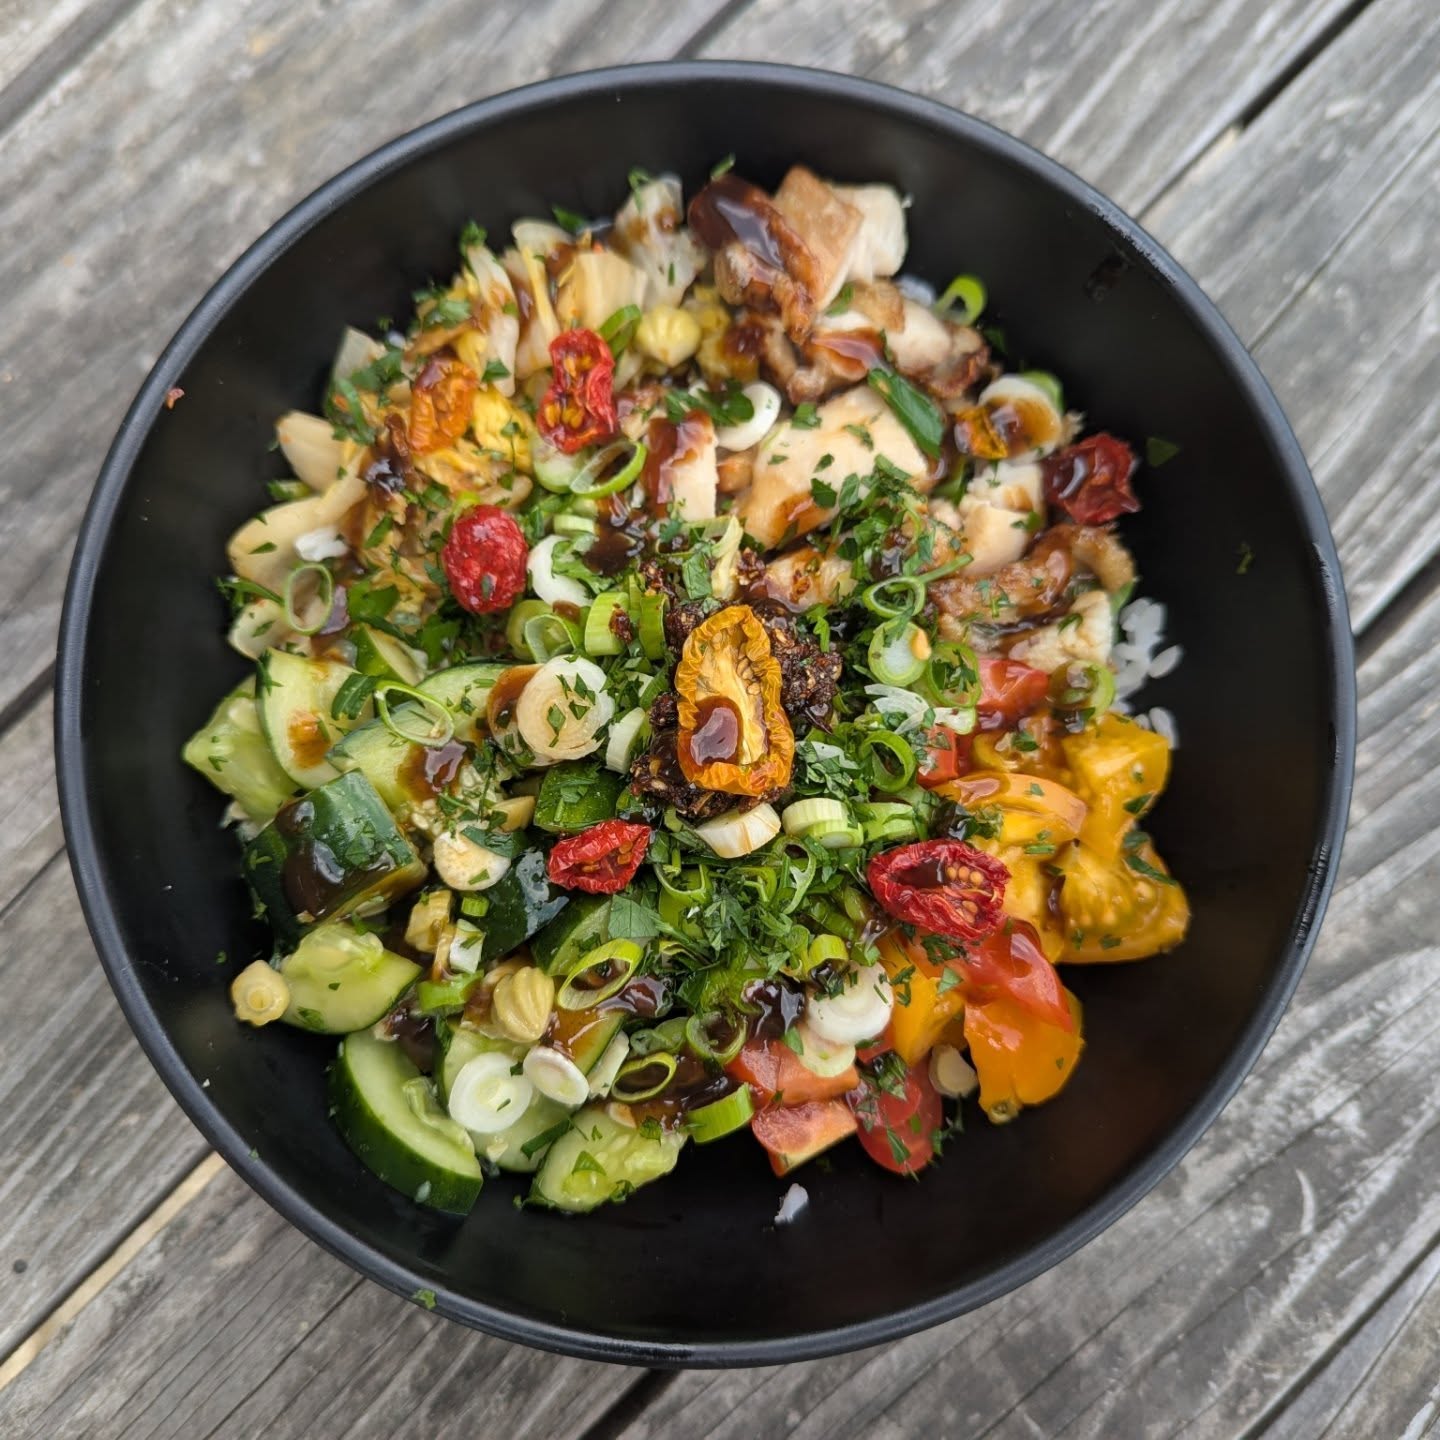
I've been eating a lot of rice bowls lately and I thought I'd share some basics that I've learned since eating them. I started with some of the donburi style Japanese rice bowls. Oyakodon is lovely, simple chicken vs egg with dashi, sugar and soy, likely ginger and garlic. Gyudon is thin sliced beef with something similar. Korean rice bowls (Bibimbap) are a bit more relaxed and have more variety of toppings.

Yakitori time!

Yakitori time!

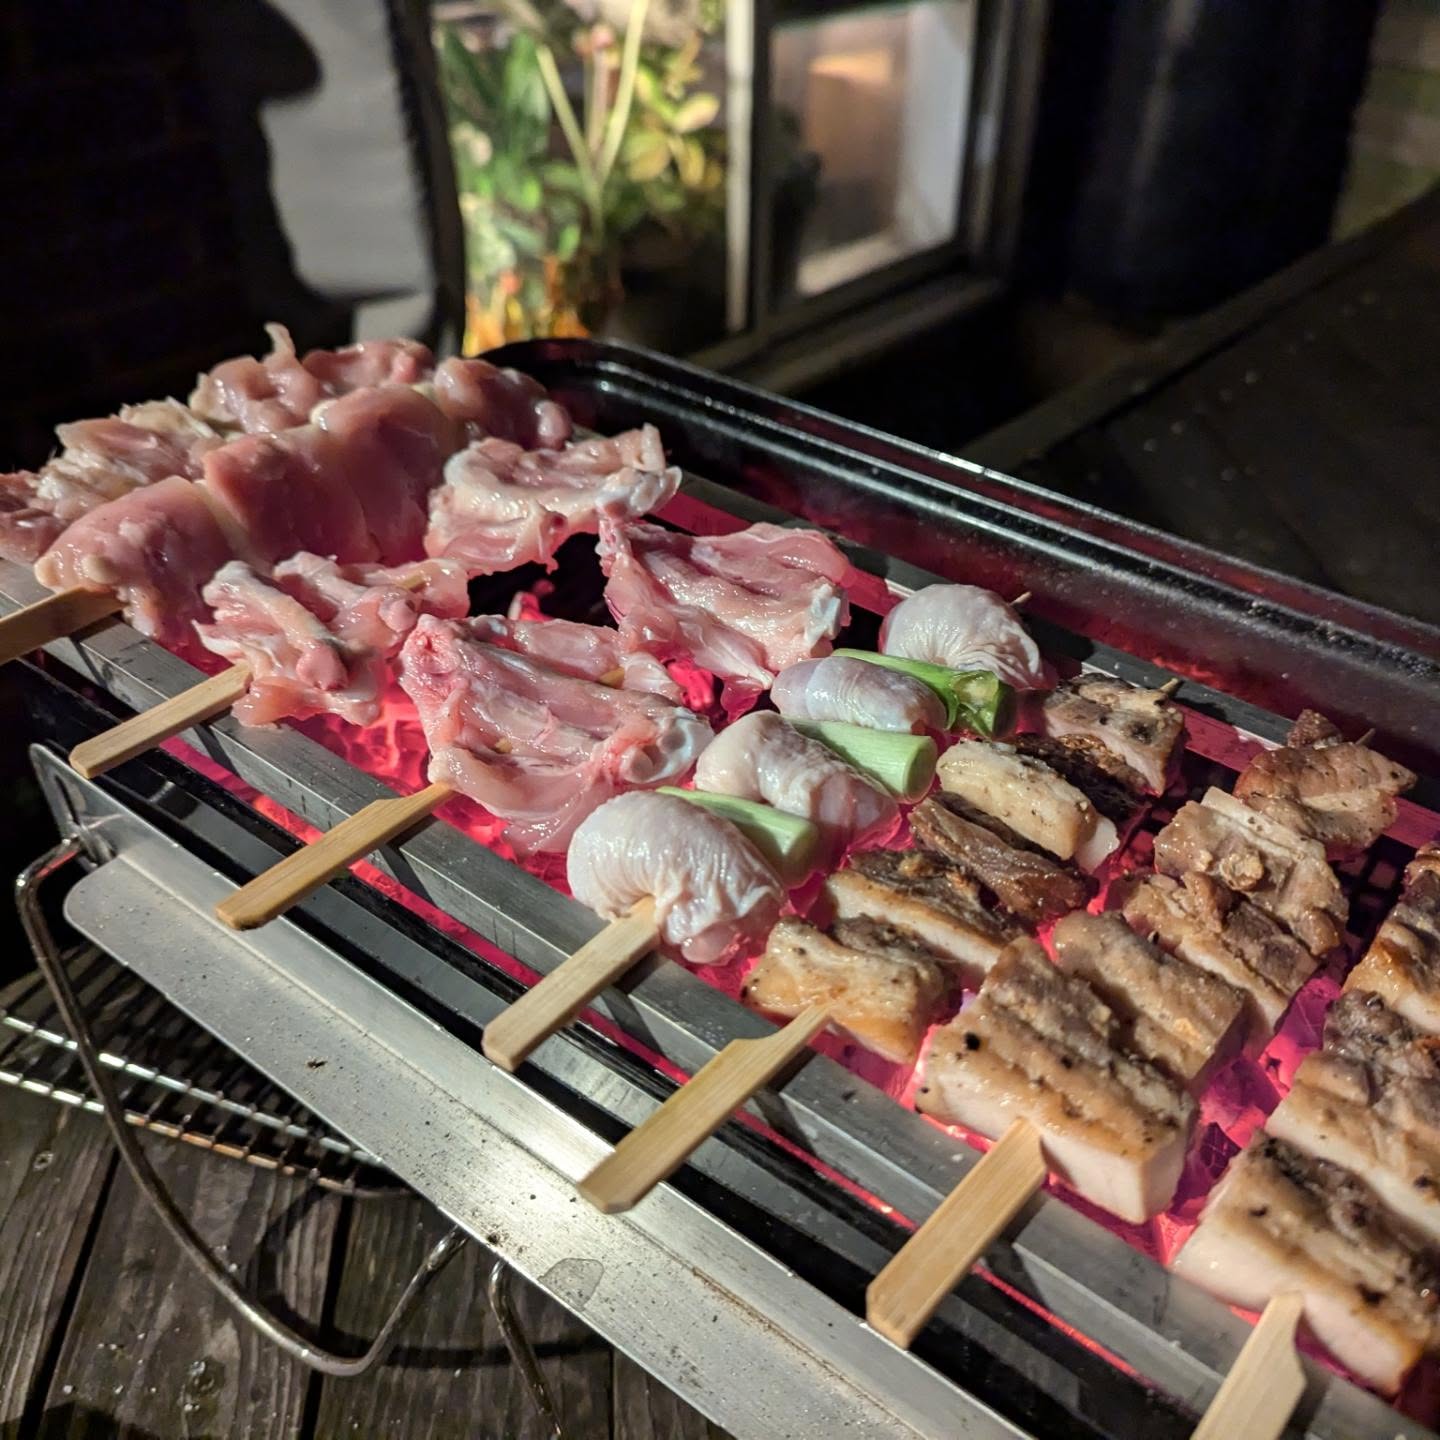
Yakitori time! Unfortunately we were too busy eating the skewers for me to get any good shots. I've used a small portable BBQ (Weber Go Anywhere) with some lumpwood charcoal (Big K Restaurant grade) to grill these. As some of you may know, the Japanese use a special grade of oak charcoal called binchotan. This burns for a very long time and provides a certain type of radiant heat.

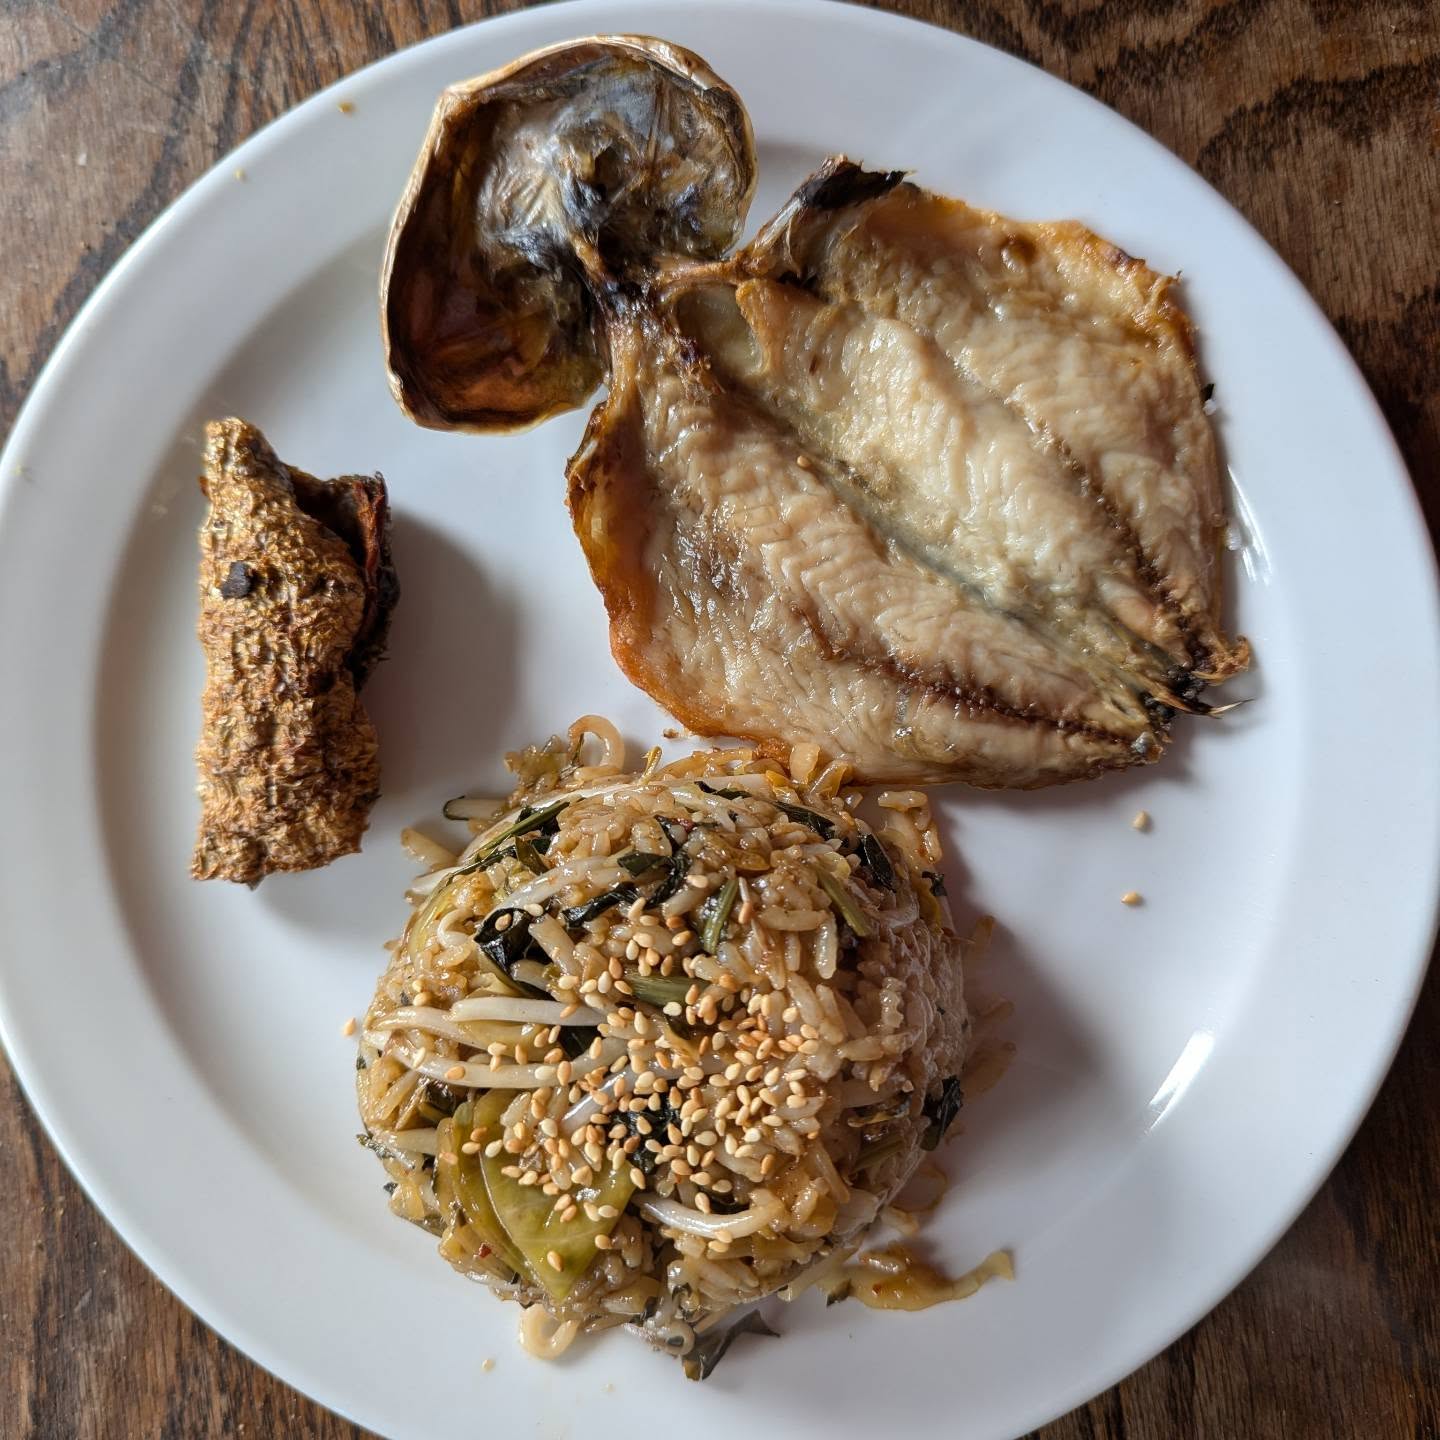
Here we have a butterflied, salted and dried Indian mackerel, known as aji no himano in Japan.

Here we have a butterflied, salted and dried Indian mackerel, known as aji no himano in Japan.

Here we have a butterflied, salted and dried Indian mackerel, known as aji no himano in Japan. Traditionally eaten for breakfast, however, I ate it for a late lunch today. It was accompanied by smoked salmon skin, crisped up in an air fryer, and some fried rice. The mackerel process is relatively simple once butterflied, and would work just as well on filleted mackerel or sardines. I soaked 4 in 100ml of 10% alcohol (sake or 1 part gin/vodka diluted with 3 water) for about 15 minutes.